New Feature: State Machines
Posted January 17th, 2023
“A finite-state machine (FSM) or finite-state automaton (FSA), is a mathematical model of computation. It is an abstract machine that can be in exactly one of a finite number of states at any given time. The FSM can change from one state to another in response to some external inputs; the change from one state to another is called a transition. An FSM is defined by a list of its states, its initial state, and the conditions for each transition.”
– Wikipedia
Our latest platform update brought big changes to the development experience, with its entire focus on the development of State Machines (see documentation). With this new feature, developing your custom State Machines and their respective elements becomes a much simpler, faster and more intuitive process.
Developments that include any sort of approval workflow, such as expense approval or vacations, are now much simpler.
Here are the details of our new feature:
Modeling Experience

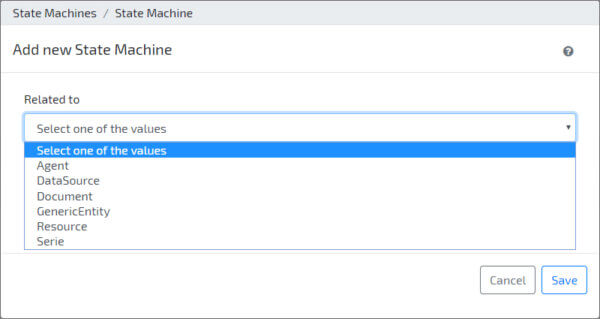
In order to create a new state machine we simply need to use the familiar “Add New” button, recently added to the new modeler menu item called “State Machines”.
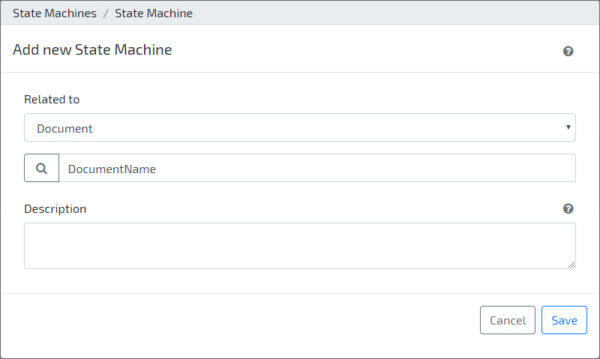
This first step includes the following configurations:
– Related to: select the entity that your state machine will manage;
– Description: a description of your state machine;
Dashboard
Every new state machine comes with two preconfigured states: “Initial” and “Completed”, that can be monitored using the state machine’s dashboard. Here you’ll be able to see all available states and how they interact with each other (see the diagram on the left side of the next image).
Add new States
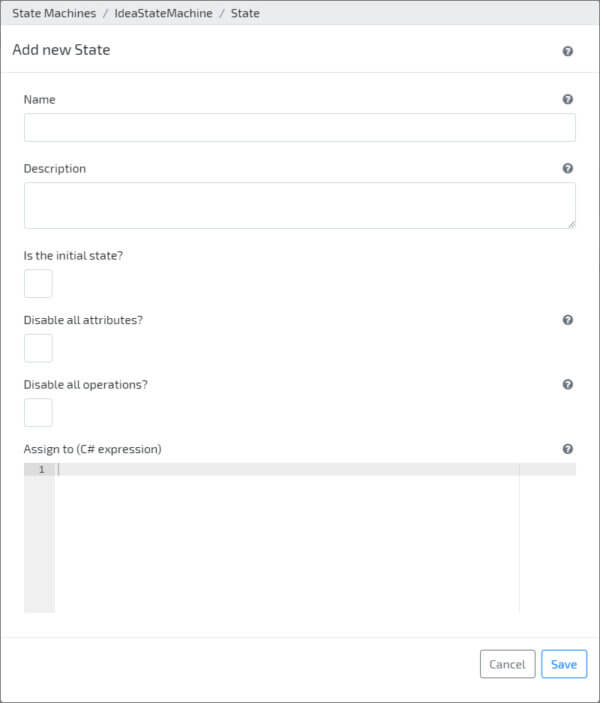
The process of adding a new State to your State Machine is very simple and familiar. Using the option “Add new”, located on the State Machine’s dashboard, a form will be prompted with the following options:
– Name: the name, and unique ID, of the state;
– Description: a text description;
– Is the initial state?: a checkbox that allows the developer to define the new state as the initial one;
– Disable all attributes?: checkbox that allows the developer to disable all attributes;
– Disable all operations?: checkbox that allows the developer to disable all operations;
– Assign to (C# expression): custom C# expression for entity assignment control;
Decisions | Transitions | Behaviours
For every state there are three aspects we can control:
– Decisions: control user action when an entity is in a given state;
– Transitions: create and configure the path, conditions and triggers of a state transition;
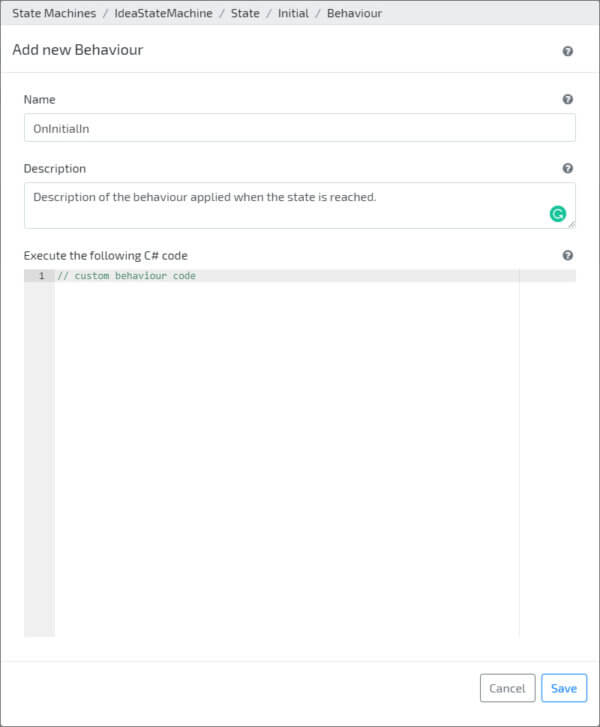
– Behaviours: trigger custom C# behaviours when a state is reached or abandoned;
Decisions
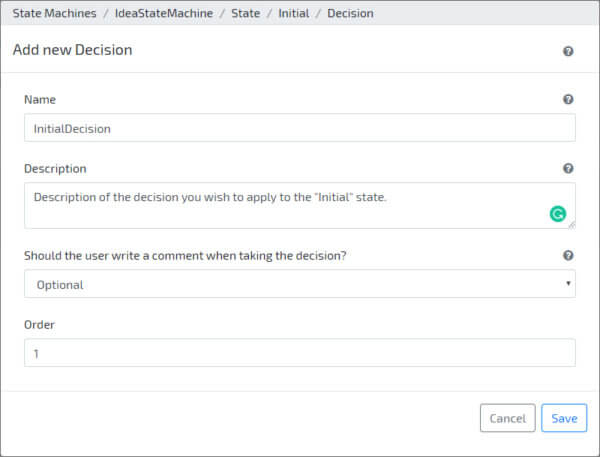
Decisions are one of the three aspects you can control in a given state. Decisions were built to control what specific users are able to do when a specific entity reaches a specific state.
In addition, decisions come with a comment field that can be added and made optional, or mandatory, with a single click.
Transitions
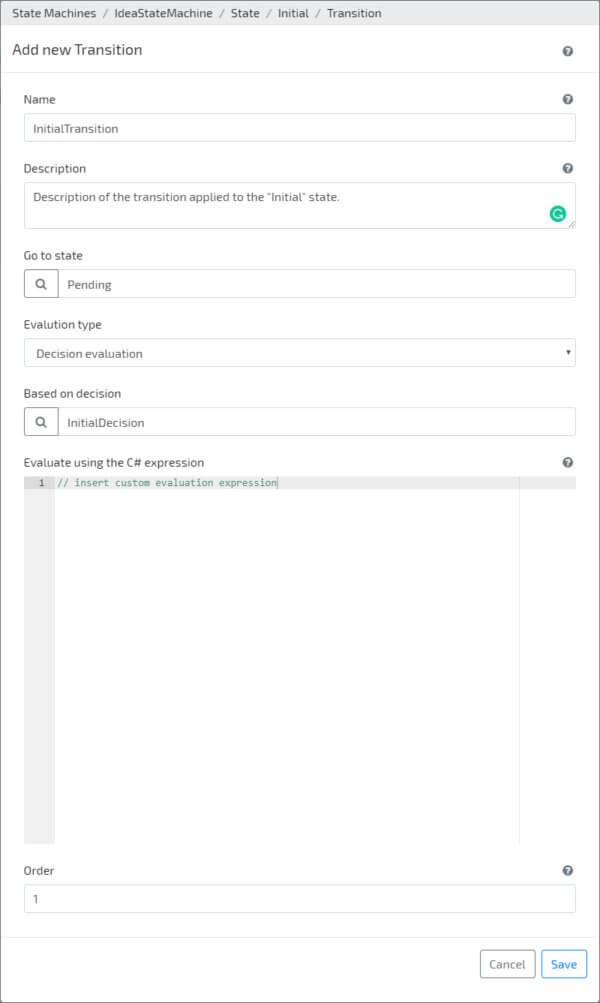
Transitions are the second aspect you can control within a State Machine. As their name implies, transitions represent the change of one state to another and allow you to decide how to evaluate if the transition is executed or not, using conditions.
Evaluations can be based on existing “Decisions” or on custom C# code.
Behaviours
 Behaviours are the last of the aspects you can control in your State Machines and will allow you to execute custom C# code in two different stages:
– On State In: when a given state is reached, execute;
– On State Out: when a state is abandoned, execute;
State Flow Diagram
One of the biggest challenges of developing complex state machines lies in the visualization of the process as a whole and it’s because of this that we implemented an automatic diagram generator that will display the entire flow directly in the state machine’s dashboard, as demonstrated by the next image:
Try our low-code platform today
If you have upcoming projects or simply want to know more about our platform, get in touch with us and we’ll schedule an introduction demo, especially for you.


